Zentangle is...

The Zentangle® Method, created by Maria Thomas and Rick Roberts, is an easy to learn, fun and relaxing way to create beautiful images by drawing structured patterns.

Saturday, May 16, 2020

Good morning, Universe!

I'm glad to see you, and hope that you and yours are well and safe!

Zentangle has given me another "tool in my toolbox" that I wanted to share with you. I have been finding it really hard to focus in this new reality of ours. (In my last post, I mentioned having this problem when I had shingles, and how Zentangle helped get me through it.) I think it's not uncommon right now, so I thought I'd share something that has enabled me to focus a little better.

I call it the "Good Morning, Universe Method".  I like to tangle in the morning in a small journal, while I'm having breakfast.  Some days, the questions that are usually opportunities become obstacles. String or no string? Which tangles? That's when I let the Universe--or Providence, Kismet, Fate, Destiny, what have you--take over! In the beginning, I used tanglelist.com for my tangles and, after choosing a number from 1-250, tanglepatterns.com for my strings. Then, I wanted to explore Reticula and Fragments, from Rick and Maria's Zentangle Primer, Volume 1. Using the randomwordgenerator.com, I chose one or several numbers and letters that would work together for square, triangular or round fragments and reticula. (See Tanglelist.com for an exhaustive list of the fragments and reticula if you don't have the book.) Armed with the elements for my composition, I start to   d  r  a  w.    Slowly, deliberately, I make one line after another, focusing on my breath and the position of my paper and pen. I move only the paper, with my non-dominant hand, so that I can stay comfortable. Inhale, exhale, turn, repeat. This simple process, the essence of the Zentangle Method, has the power to calm my mind and spirit and body. I let go, and when I see that my drawing is complete, I notice that only 20-30 minutes have passed. Sometimes, I get a surprise when I see the meta-patterns emerge. This is liberating and uplifting, and confirms that what I envision is often limited and not representative of all that is possible. I am ready to move on and start my day, in the awareness that "anything is possible, one stroke at a time."


Now I am starting to teach a free Zoom class with this focus. (Email me if you're interested.) Our focus will be mindfulness, breathing, making deliberate, repetitive strokes. And I'm hoping that others can see that, in these uncertain times, we can still let go, albeit for an hour, and trust the Universe.


PS: If you would like to further explore randomly developed tangles, check out Eni Oken's free Art Raffle app. It's quite a bit more complex than the Reticula and Fragments formula, but lots of fun.


Monday, March 9, 2020

Persist, or what I learned from my shingles

When I wrote my last post, on January 12, I thought to myself, "Next week will be my 250th post!!! I'll put together a knock-out piece to celebrate!" In the week that followed, I got shingles, or le zona in French. Shingles is a virus caused by the chickenpox virus. If you had chickenpox as a child, you still carry the virus in your blood, and when you get older, or go through an especially stressful period, you may get shingles, which affects your nerve endings and causes a rash, flu-like symptoms, abdominal pain, fever and chills, among other lovely things. Every one who gets shingles seems to have a different story as to where the rash popped up, what symptoms they felt and how long it lasted. But everyone agrees: it is best to avoid it.
There is a vaccine now that is readily available. I had not had the vaccine, because I thought you needed to be 65. You don't.
So, after being away from my blog for almost two months, what do I have to share with you today?
It's definitely not a knock-out piece with my latest artwork. My energy levels, ability to focus and draw, and vision made it hard to tangle for weeks. When I first tried to go through the 8 steps of the Zentangle Method, I realized that, in step 1, I was in so much pain that my breathing was shallow. I just did breathing that day. 

"B   r   e   a   t   h   e."

Then I felt grateful, for the method, for time to slow down, for an opportunity to learn.

"There are no mistakes. Just opportunities."

Sometimes, I just took a pen and practiced the basic I, C, S and O strokes, slowly and deliberately. What if I thickened them? curved them to the left? to the right? wiggled them? made them HUGE? or tiny?

"Anything is possible, one stroke at a time."

Once I felt a little better, I faced a new problem. No inspiration. Everything seemed like a struggle. Who wants to dance in a pool of molasses? So I turned to the Zentangle community on the Mosaic app. I found pieces that I really liked and tried to do one element from a tile. Sometimes I learned a new pattern.


Sometimes I revisited a string I had used in the past.


I actually looked at my pins on Pinterest, too. (I always pin things and rarely go back to see what I have!) I found some tiles by Jo in New Zealand that had always intrigued me, so I tried a similar string with 2 tangles.


I decided to investigate tangling on metal foil, and fell into a rabbit hole! Eni Oken's "Metal Tangles" lesson helped me to safely find my way out!


"Discover."

Once I could go out again, I decided to teach my library class, which had been canceled due to my illness. I knew I wasn't up to driving and setting up the tables and chairs, so I asked my dear Lar if he would take me. He gave up his day off to do so. The love I felt and joy of seeing my students did as much to help the healing as weeks of medication! (Although I'm grateful for the expert advice and treatment I received from my dear doctor!) And I would be remiss if I didn't mention all the smiles and chuckles my students brought to my life through emails and texts of support prior to this reunion.

"Gratitude and Appreciation."

A few days ago, I finished my treatment. I have ventured out alone and taught another class. Although I'm still not 100%, I'm back from 25% to probably 88%! I still need to exercise some patience and compassion with myself. I'm a work in progress, like those tiles that we add to after we think we finished them! 

"Life is not always black and white. There are many shades of gray."

In closing, I am surprised and pleased that this post--my 250th!-- is now written and ready to post. When I started, I had no plan, just time to sit and reflect and the desire to share my experience of Zentangle helping me through my rough spot. It's the feeling we have in step 8, when we appreciate and enjoy what has come out of our pen. If you're in a rough spot, I hope that you, too, can find some solace and relief in your Zentangle practice. Just pick up your pencil or pen and breathe. The rest will follow in good time.


Sunday, January 12, 2020

Project Pack 07

Have you seen the latest project from Zentangle HQ? Project Pack 07, with its focus on gray paper with blue and gold inks and blue chalk pastel was released about a month ago. As always, the project videos are available to all for free, and you are welcome to play along with whatever materials you have. I had bought some gray card stock and made a journal using mid-tint papers for the project lessons. Slowly but surely, I've been working my way through the 12 days. I've enjoyed every minute! Here's what I have so far.


Copper metallic ink with purple pastel chalk


Gold metallic ink with blue and white pastel chalk


Gold metallic ink with blue and white pastel chalk
Notice the two blue inks. One is a blue back PN (plastic nib) pen and the other
is a blue Micron. These are gorgeous on gray.


Gold metallic ink with brown Micron on tan paper


Gold metallic ink with blue watercolor on gray


Gold metallic ink with blue and white pastel chalk


Purple PN with white and violet chalk on gray

Somewhat surprised at how I like the gray paper, I still have some exploring to do. I was pleased with the purple ink, as well as the copper. I'm having some trouble blending the pastel chalks on the card stock. It's probably easier on the gray tiles from Zentangle, which look like they have a soft, fibrous feel that really takes well to the chalk.
Have you tried the new paper? What do you think?

Wednesday, January 1, 2020

Happy New Year! Meet Khala, my new friend...

What do you do when you feel dispersed?
This is something that is not normal for me. I usually focus well, and easily follow the "one stroke at a time" concept of the Zentangle Method. In a recent conversation with my friend Connie, who has known me for about 20 years, I mentioned that I was finding it extremely hard to focus on my artwork. "That's not like you," she replied. We discussed possible explanations, like the holidays,  my age, my husband's changing work schedule, but never really found an answer. To make things worse, one of the items cluttering up my drawing table was a typography piece I had begun, intending to tangle it.
Every day, it seemed to taunt me! I even found it impossible to follow along with the new Project Pack 07 videos.
Then, last week, I met a new tangle, Khala, by Zen Linea on Facebook.


I'm not a huge fan of Celtic knots, but for some reason this one was calling my name! Alas, I worked for several days on it without success. My frustration and even fear that I was somehow losing my ability to tangle mounted. Nevertheless, I persisted in my efforts to befriend this tangle. Once I finally "understood" it, I couldn't get enough!!!(And to be perfectly honest, I still do it in pencil first!) I mounted the first successful attempt on a black Zendala tile and added some typography. It now hangs over my drawing table.


While I'm still a bit "off" in the focus area, I feel that things are getting back to normal. In future posts, I hope to share some of my recent distractions, especially architectural details re-imagined with tangles, my 2020 tile, working with gray and blues, red backgrounds, and even wood burning!
In the meantime, I leave you with my best wishes for you and yours, for a focused, productive and meaningful new year!


Monday, December 2, 2019

Oops!

No mistakes.
A fundamental lesson of our Zentangle Method.
I experienced this recently in my artwork on two different occasions.
I have some Moleskine journals that I bought to keep in my purse so that I'm always prepared for a tangling opportunity! One of them was calling my name: "Jennifer? Why haven't you used me lately?" I decided it was a good opportunity for some randomly generated strings and tangles, which I had done a few years back as a way of practicing all the Zentangle originals.
I started with some colored pens, another tool that seems to frequently collect dust.


I picked up a black pen, and immediately regretted it. The Moleskine paper is so thin, you can see through it. (If you look carefully, it even happens with the colored pencils.) After trying a few different pens, I thought, "What if I just use my pencil?" The process was so relaxing, and I was fairly pleased with the results.


On the left, I was transitioning. I used my pencil to restate the bleed-through.


Even pencil shows through these pages, but it didn't bother me as much!


My second "No mistakes" moment came when I was drawing a postcard for our local swap. I lost my direction while tangling "Stella". Oops. Hmmm. After finishing the rest of the card, I picked up my black Sakura brush pen and inked the area with the "mistakes". Hmm. I could still see the mistakes!!
Panic ensued, but only momentarily! I remembered that I had some pens that a dear student gifted me, that are the blackest black I've ever found. Sure enough, they were blacker than the Sakura pens. I used them to draw "Sandswirl", and really loved the texture of the black on black. When I had finished, I added a clear sparkly dot in each swirl. Black on black. Who knew?


Can you see the underlying mistakes? I can, but I like it!

To quote Carolyn Dube, OOPS stands for Outstanding Opportunities Presenting Suddenly!

Thanks to these "mistakes", I've explored two new-to-me techniques, and discovered joy in them!
What "mistakes" have brought joy to your life?


Saturday, November 16, 2019

How to make your own Zentangle journal

With several new classes, I've been busy prepping lesson plans. I wonder if this is really necessary, or just a carry-over from my previous life as a middle school French teacher, where you never knew when an administrator would show up to observe and ask for a lesson plan. I can't imagine that Rick and Maria would ever do that, although I would be so happy if they did! There's a part of me that really enjoys the planning and the archiving--new binders! I feel relaxed knowing that I've put everything together in a logical sequence for my students, and made note of how long things will take. I believe it's therapeutic, albeit time-consuming!
Here are some tiles from the last 2 weeks:


Inspired by Eni Oken's "Drawing Antique Lace"


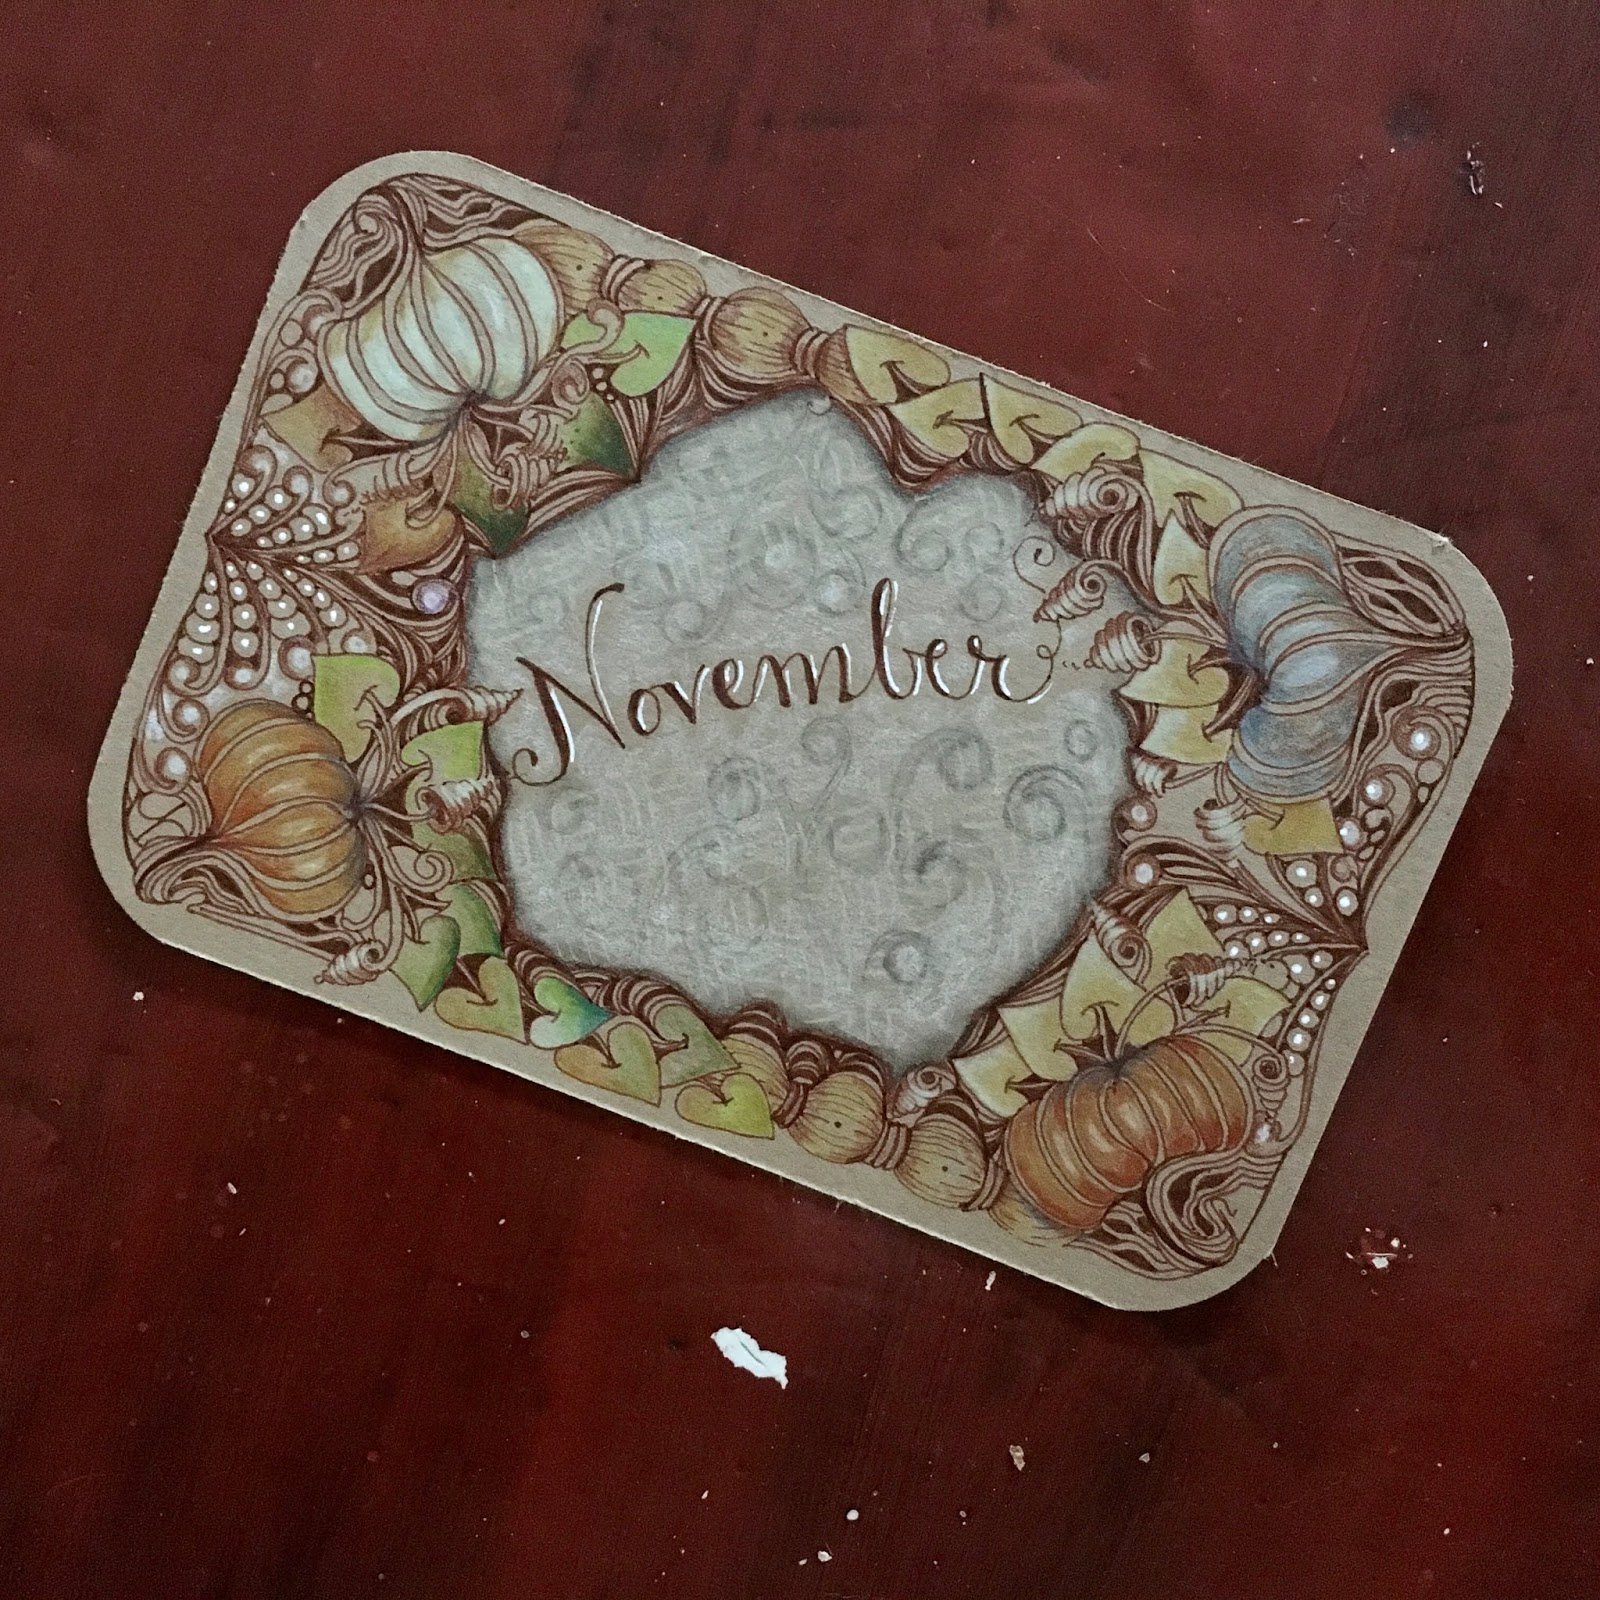
For my November postcard swap


Demo tile for my "String Theory" class


New handmade journal cover

I do like using small journals for my daily practice. Once you have hundreds of tiles, it's nice to have a tidy way of organizing them. I make journals that are the size of a Zentangle tile. Using that familiar 3.5 inch square format is so comfortable, and with a limited number of pages, the journal is easy to turn, comfortable on my hand and wrist. I thought some of you might be interested in how I make them.
First, I cut my cover. I use a thicker paper or cardboard, cut to 7 5/8 in x 3 1/2 in. (19.5 cm x 8.8 cm)
Then, I cut my paper to 7 1/4 in x 3 1/2 inches. (18.8 cm x 8.8 cm). 
I decorate the cover before assembling the book, but if you're impatient to see the book, skip this step and decorate later!
I score the cover and paper where I want the fold. This just makes everything close more nicely.
Now I sew them together. I use a large needle and about 30 inches of dental floss (75 cm).  Using just your needle, make 3 evenly spaced small holes in the paper and cover. (One hole in the middle, and one hole halfway between that one and each edge of the paper. Clip your pages to the cover so that they stay together while you sew.  Now thread your needle, but do not knot the thread. 
  • Beginning with the middle hole, pass the needle and thread from the inside to the outside, leaving about 2 inches of thread inside. 
  • From the outside, pass the needle and thread to the inside, through one of the side holes. 
  • From the inside, pass the needle and thread to the outside, through the other side hole. 
  • From the outside, pass the needle and thread back through the center hole. Make a knot with your thread and the "tail" that you left earlier.
Make sure you pull everything taut as you go.
I have sewn these with my sewing machine. Some papers tend to tear this way, but I reenforce the journal with washi tape.
I hope this is clear. I had planned to refer you to an online article I used, but it's no longer available. Let me know if you have questions or problems.
Do you make your own journals? What's your technique?

Thursday, October 31, 2019

Happy Halloween!


It's hard to believe, but in less than 2 hours it will be November 1st. Here in Chapel Hill, we are in the middle of a severe storm which cut short our children's Halloween fun. Our neighborhood managed to have its traditional parade, followed by the trick or treating from house to house. By 6:45, the  wind and lightning made it feel really scary, and everyone went back home. 
As the windspeed increased, my eyes were focused on the Monarch butterflies that I so love. I used my best telepathic skills to warn them to take shelter from the coming storm. This year I've seen the most ever. I hope that's a good sign for these delicate creatures that cross two continents every year in their migration. They bring me so much joy!


With Halloween we tanglers celebrate the final day of InkTober. I started this challenge in my hand-made journal, missed a few days, and started again on a recycled cereal box. I enjoyed working in a larger format and seeing it all come together. Thank you, Stephanie Jennifer, for giving us this year's list of tangles!


How was your October?

Tuesday, October 29, 2019

Zentangle and A Day of Care for Caregivers


It's almost November, National Family Caregivers Month. Our county's Department of Aging is offering a day of physical and emotional care and appreciation for those who are committed to caring for our folks who can no longer care for themselves. As part of the wellness activities, I'll be teaching an introduction to the Zentangle Method. Registration and respite care are free! (The deadline for respite care has been extended to November 2.)


Sunday, October 20, 2019

Zendala Moments #09

We've had more rain this week, including this morning! I love hearing it and watching it, as you know if you read last week's lengthy ode to the rain!!! We've had some lovely autumn days, too, when I've enjoyed walks in the nearby forest. I took a previously unexplored path one day, and discovered this hidden gem.


My neighbor's maple tree has begun its lovely transformation of our sidewalk into a red carpet, and I feel like a queen!


Thank you, Annette, for another lovely Zendala Moments template for September. I did two versions of this. In the first, I followed the string, but in the second, Hollis, a new pattern for ZT headquarters, took over! (It reminds me of how some of the "weeds" in my garden mimic the surrounding plants and make it harder to remove them!) I tried to use the white to restore some structure to it all, but it's still a bit messy!!


Sunday, October 13, 2019

Zendala Moments: Rain

"Flash drought." This term joins the list of global warming symptoms. When I saw it in a recent news article, I knew that I was experiencing it. My garden, our neigborhood, town and beautiful forest have been parched for many weeks, but, seeing the deadly drought that has had France in its grip for over a year, I barely paid attention to it. Then the crevasses in the red clay around my house seemed to widen and deepen, almost overnight. I remembered all the rain we had had earlier this year with a wet winter, spring and summer, and very few of our usual blistering temperatures. It seemed impossible that I needed to water my new vegetable plants, but I knew I had to. Weeks of searching the weather forecast for any sign of rain finally gave way to a small cloud icon for today. Dare I hope?
The rain came this morning. Neighbors went outside to look at it, as if it were snow! The kids across the street built a rain fort, with chairs and umbrellas and small chairs to sit in while they watched. I decided to enjoy the rain from the shelter of our screened porch. Listening to the pit-pat of drops on the leaves of surrounding trees, I picked up the Zendala Moments #08 template and started to draw.


Happy birthday to my niece, Gala! A devoted high school English teacher, she deserves a little shout-out!


My October entry for our local postcard swap found me ready for leaf action! I haven't spotted any tangle-worthy leaves yet, so I stuck with my trusty stamp, a glaze pen, some watercolors and colored pencils.

And just an update to my last post. I just noticed that in addition to the InkTober prompts I posted, there are several other options. See a complete list here.

How's your autumn? 


Saturday, September 28, 2019

Catching up: Project Pack 06 and Organic Borders

When I last posted, I shared some tiles I had done as part of my study of Margaret Bremner. Here are a couple more.

My Zendala Moments 07 post used a technique that was featured in the Project Pack 06, where white pages or tiles are stained with black ink. I altered that idea slightly by taking black and white squares, cutting them into irregular shapes and then putting them back together. This tile followed Maria's lesson, using ING and Printemps. Somehow, my tiles didn't quite fit together, so I placed a yellow paper behind them to highlight the "mistake", and remind me of Kintsugi, a tradition where Japanese artists mended broken pots with gold.


As I followed along with the Project Pack videos, I worked on an ensemble of 4 "spliced" black and white tiles. This was lots of fun!


Eni Oken's Organic Borders ebook gave me my next inspiration. This technique of creating borders much as you would create a floral bouquet is a little more challenging than the Zentangle cartouche technique, but still relaxing. 


I like this technique so much that I decided to create a sampler of my favorite elements on a Zentangle spinner template that I had.


Now, I'm gearing up for InkTober2019 and tangling on some lovely autumn leaves. (After a wet spring and summer, we've hit a dry spell. I wonder if there will be supple leaves to tangle?) I hope you'll check back to see what we come up with!